
Your first recipe
This is the five-minute walk: an empty editor to a pale ale that sits in style, with the numbers you will read every time after this. You do not have to sign in first. A guest workspace is a full workspace, saved on this device, and signing in later keeps everything you made.
1. Make the recipe
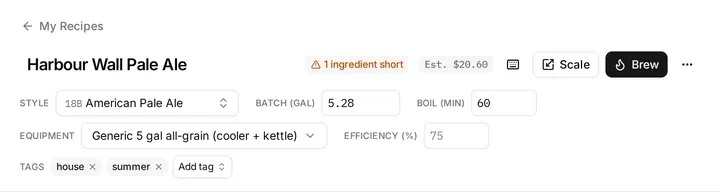
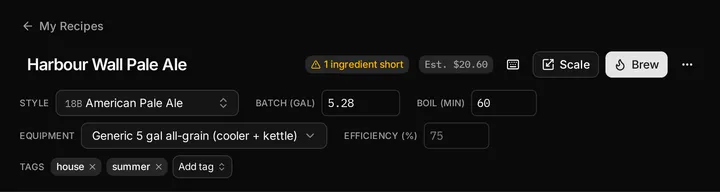
Section titled “1. Make the recipe”Press New recipe in the header, or open the command palette with ⌘K and choose New recipe. You land in the editor on Untitled recipe with a 5 US gallon batch, a 60-minute boil, the generic cooler-and-kettle equipment profile, one mash step and one fermentation step. Click the name, type “First pale ale”, and press Enter.
2. Pick a style
Section titled “2. Pick a style”Press Style and type “pale”. Choose 18B American Pale Ale. Nothing changes in the recipe yet, but the vitals rail on the right now draws the style’s ranges under each bar, so from here on you can see whether you are in style rather than looking it up.
3. Add the malt
Section titled “3. Add the malt”Press A, or Add fermentable in the Fermentables panel, and type “pale ale malt”. Pick one. It lands already sized for the beer: we take the batch size, your equipment’s efficiency and the malt’s own yield, and propose the amount that puts OG in the middle of 18B’s band — about 4.7 kg here, or a little over 10 lb if you set US units. Watch the rail: OG is inside the band before you have typed a number, and the color swatch turns gold. The amount is a proposal, not a decision; click it and type over it whenever you have your own.
Add a second row the same way, “crystal 60”. A specialty malt lands as a share of the grist rather than a fill, because the catalog knows roughly how much crystal a recipe wants, and the percentage column shows it. Type 0.25 kg over it to bring it to five percent, and the color deepens a shade.


4. Add the hops
Section titled “4. Add the hops”Press A in the Hops panel and type “cascade”. The first addition lands as a 60-minute boil charge, dosed for your batch size. Set the amount to 50 g and the IBU bar moves into the band. Add Cascade again; this one lands at 15 minutes, and a little heavier, because late additions are where the hop mass goes. Change its Use to Whirlpool, the amount to 40 g, and the IBU moves a little, because a whirlpool addition at the default stand temperature still isomerises some.
The AA % on each row came from the catalog as a mid-range figure. When you have the packet in front of you, type its number over it. That one field drives the whole IBU.
5. Add the yeast
Section titled “5. Add the yeast”Press A in the Yeast panel and type “us-05”. The strain’s attenuation band comes with it, and a line under the table says which figure the predicted FG uses. The FG bar settles into the band, and the ABV bar with it.
6. Read the rail
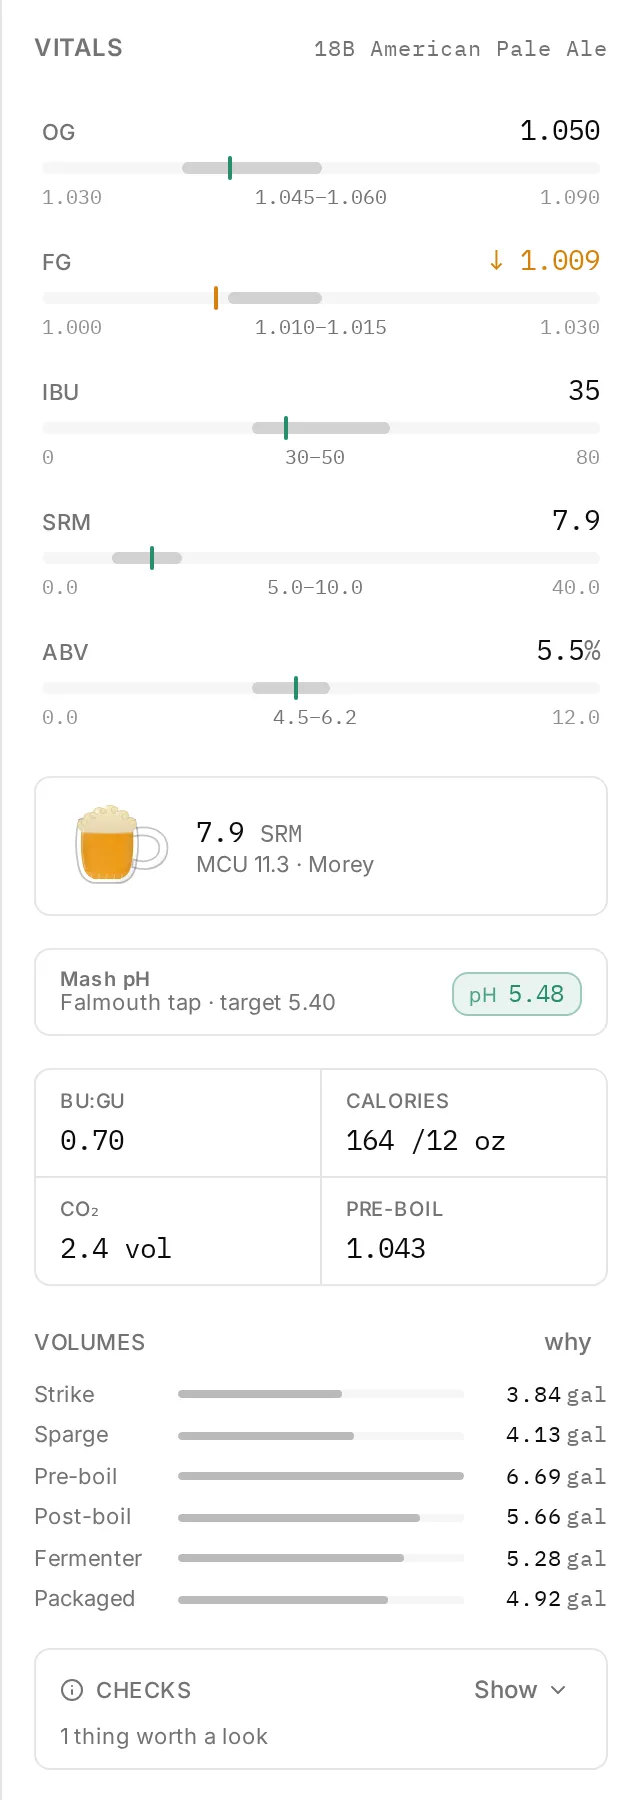
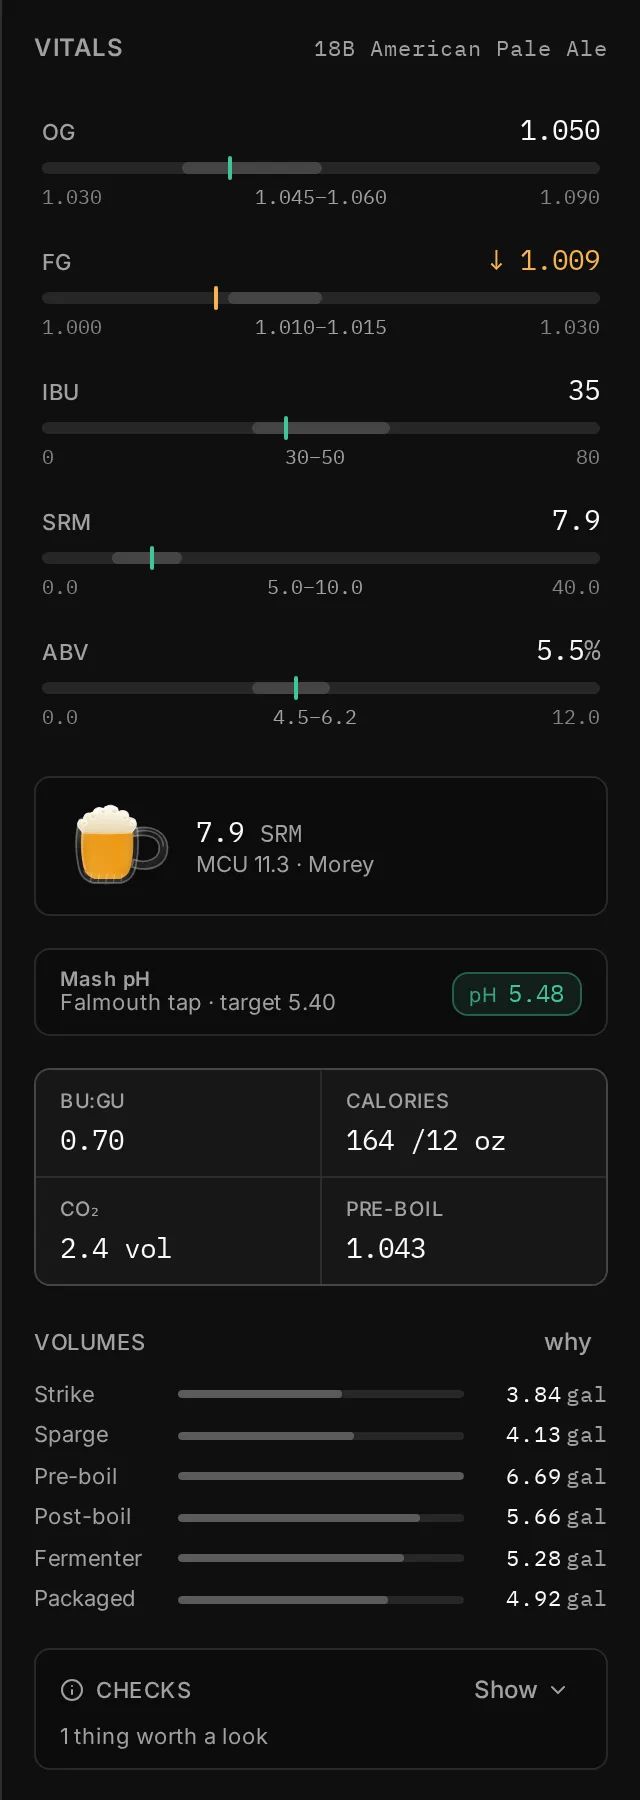
Section titled “6. Read the rail”Five bars, OG, FG, IBU, color and ABV, each against the style. All five should be calm. Below them the color swatch, the mash pH strip, and the volume waterfall from strike water to packaged beer.
Press any headline number. The popover shows how it was worked out, which model, which inputs, and offers to ask the assistant about it. If a number ever looks wrong, that popover is the first place to go.
The Checks card at the foot of the rail reads the same bars. “All checks pass” is what you want to see. If it says one thing is worth a look, open it: it will be a note, in a sentence, with what would fix it.
7. What you have
Section titled “7. What you have”A recipe that is saved as you type, that undoes with ⌘Z one change at a time, and that already has a mash schedule, a fermentation schedule, a water panel reading the grist you built, and a packaging target of 2.4 volumes. Every one of those is a page of its own from here.
Where to go next
Section titled “Where to go next”- The recipe editor, for the tour of every panel.
- Water chemistry, for the one thing this walk skipped.
- Brew day and batches, for when you brew it.
- Getting started, for signing in, syncing and getting around.
Related
Section titled “Related”- The recipe editor, for every control this walk skipped.
- How the numbers work, for the arithmetic behind the rail.
- Brew day and batches, for what happens after you press Brew.
Something wrong on this page? Tell us.